.webp)
Have you ever wanted to run ads with a countdown to increase urgency in your audience? Well, you’ve come to the right place!
This is by far my favorite way to use customizers, since we at ZATO, our PPC Marketing Agency, have found that Countdowns in ads can lend to an urgency that increases the desire to purchase.
Here is a step by step walkthrough for setting up Countdown Customizers in your account:
Using Countdown Customizers in Google Ads - Step by Step Walkthrough
Step 1: Create a separate RSA in an ad group, that you set as your Promotion ad.
We like to use these as separate ads, so you can use automated rules to enable/pause everything like magic during your sale event so you can keep doing your holiday thing uninterrupted!
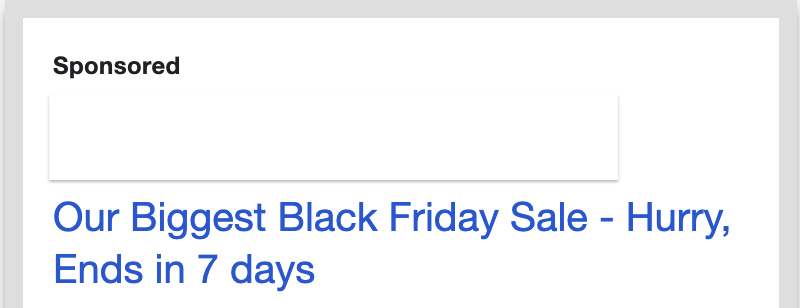
In this new RSA ad, work up your ad text for the promotional language, and ensure to get your Countdown into the headline, something like “Hurry, Sale Ends in {Countdown}” is a great way of doing it!
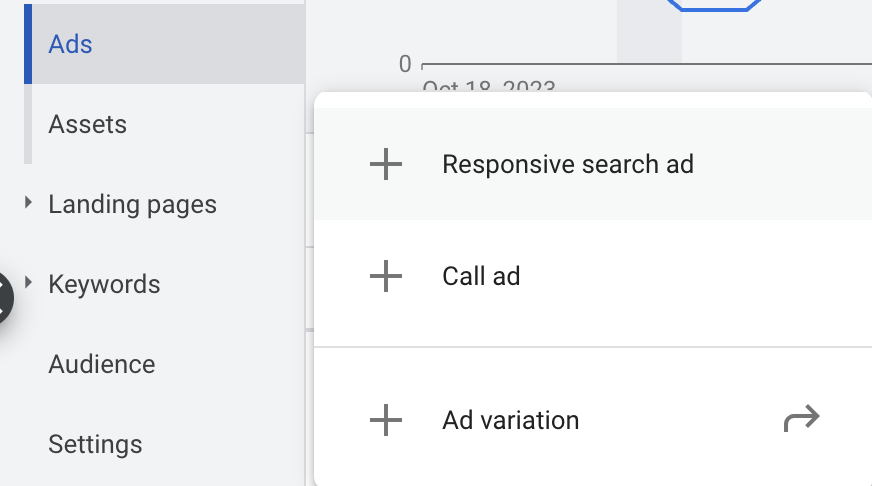
In order to add a Countdown option to your ad, start by typing this character: { and then selecting “Countdown” from the dropdown that appears.

You will then be given several options:
Countdown Ends - This is the time/date your promotion will end. This is important to get just right, because your ad will countdown first in days, then hours, then minutes to this time you set.
For the time, you can select the end of the day (literally 23:59:59), or a specific hour in the day.
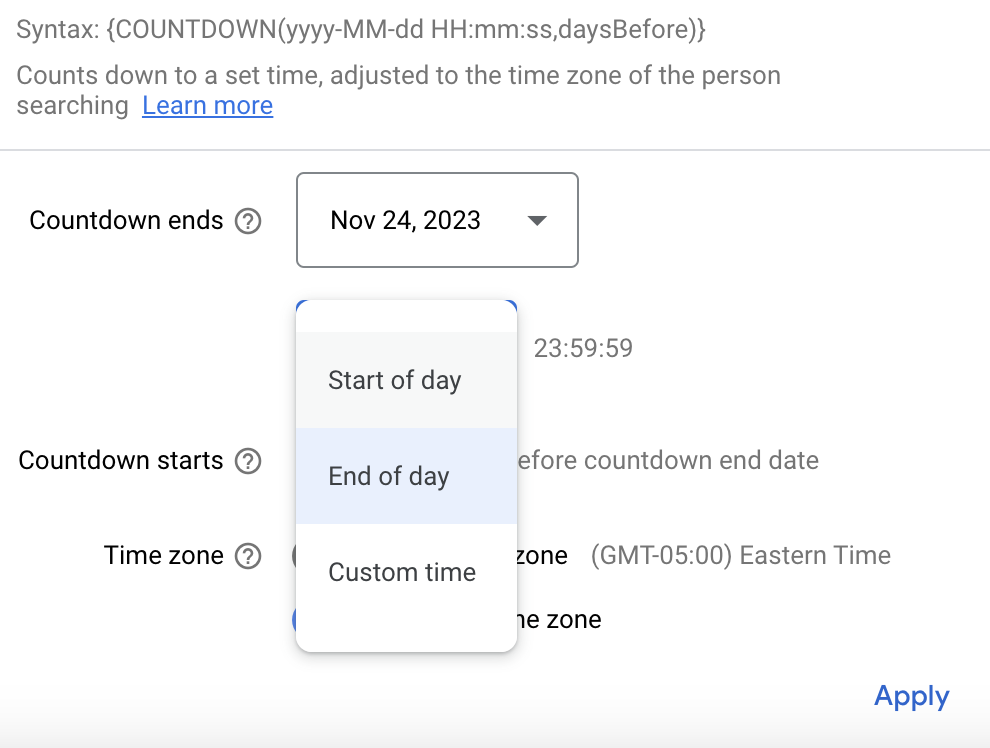
Countdown Starts - this should be set to the first day of your promotion. Remember, you don’t actually want to push these countdown promotion ads live until the first day of your promotion (since your countdown will appear), and THEN you want to set the number of days left in your promotion based on that start date.
So, if your actual promotion is a 3 day sale that ends on Black Friday at 10pm, you would set your ads to be pushed live the morning of Wednesday, November 22, 2023 and would set “3” days as the Countdown Starts goal with an end time of 23:59:59 on Nov 24, 2023.
Time zone - this is actually really important to get right! Your business needs to identify whether they are honoring the timezone of every potential customer, OR if they just want a universal timezone set (typically the timezone of the brand). If that is the case, make sure to set this correctly, or you’ll have some angry customers who can’t take advantage of the promotion at the end of the day!
Good to go? All set? Save that and let's go!
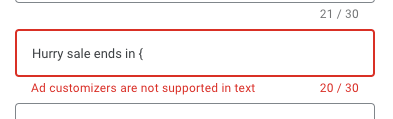
Tip: Make sure not to have a closing punctuation mark if you use my exact phrasing: Hurry, Sale Ends in {Countdown}, otherwise you will run out of characters for the maximum required for double digit minutes.
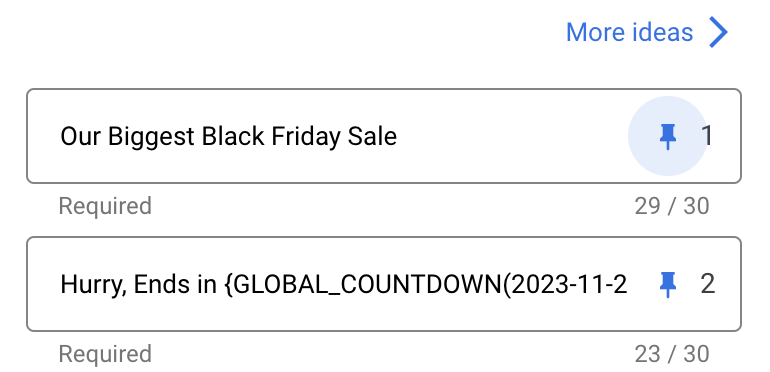
Tip: You may want to consider pinning that headline into the second position (and your primary sale message pinned to first position), so your sale ads all look the same, since the RSA element of Promotional Ads is less important than getting the necessary information out!
Once this first ad is made, PAUSE IT, and go to the next step.
Step 2: Create Your Labels and attach to ads
This step is important for your automated rules!
We suggest grabbing all live Search Ads (except your new promotional ad), and attaching a new Label to them, like: Evergreen Ads BFCM 2023
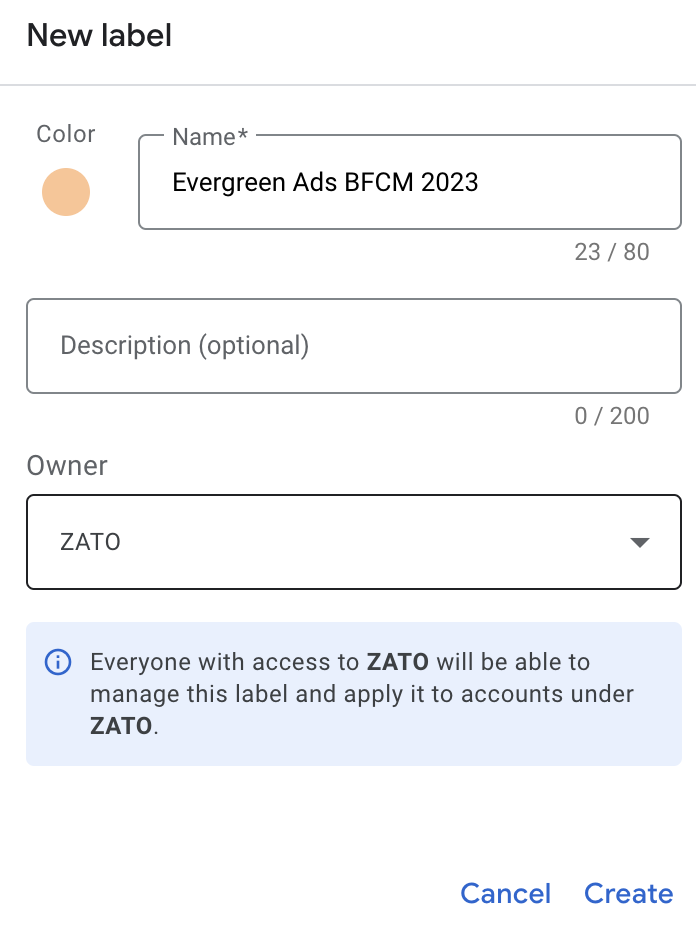
Then, create a label for the promotion ads themselves and attach to the one you just made: BFCM Ads 2023
Tip: find the label pane, by selecting the ad you want to create a label for, and choosing the option to create a Label.
Tip: MAKE SURE YOU ACTUALLY ATTACH YOUR NEW LABEL TO THE AD. Just creating the label doesn’t actually attach it (I’ve made this mistake in the past).
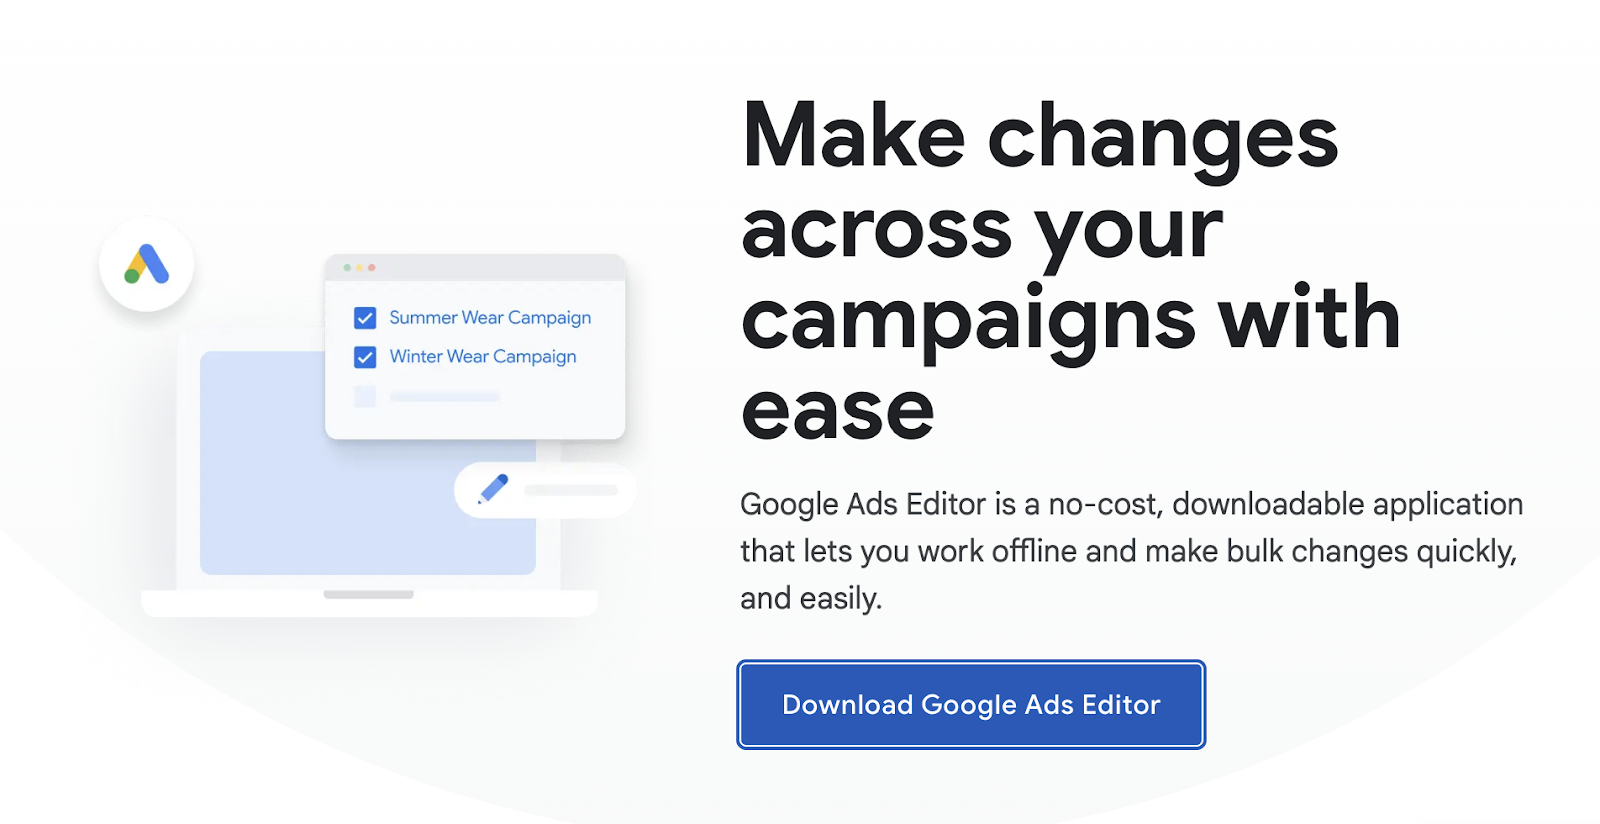
Step 3: Duplicate the new promotional RSA into all currently live Search Ad Groups
Now that this is done, use Google Ads Editor to copy and paste your new Promotional Ad into every live ad group (enabled campaigns + enabled ad groups in your filter).
Then, once all is good, upload these new ads from Editor to the UI.
Tip: You want to do this AFTER you attach your label, so that gets copied as well!
Tip: Make sure these new promotional ads are paused so they don’t go live yet.
Tip: It’s great to set these promo ads up before the sale (even if paused), so they can go through the approval process and are ready to go when your sale actually starts.
Tip: You can get more complex with your Promotional Ads in terms of Landing Pages and content if you like, with Google Ads editor. This gets a little more complex, but you can download your existing ads and create new ads in bulk in a spreadsheet and then re-upload if you like, only changing the Headlines, for instance, so the description and landing pages are the same for each individual ad group. That doesn’t take too much more time, and ensures you have the correct LP for each of your currently live ad groups. On the other hand, if you have a dedicated actual Black Friday (or promotional) sales landing page, you can smash the easy button and just copy the same ad over and upload into most (all?) of your Search campaigns. You choose!

Step 4: Create Your Automated Rules
We’re almost done! Now that your ads are made and uploaded to the UI, it’s time to get ready for the promotional period with automated rules. These will ensure you can keep eating all the turkey you want on Thanksgiving without having to stress about enabling or pausing ads (unless you need an excuse to get away from drunk Uncle Lester’s odd political views).
We need to make sure that we are triggering EACH of these 4 changes:
- Enabling Promotional Ads at the beginning of the period
- Pausing Evergreen Ads at the beginning of the period
- Pausing Promotional Ads at the end of the period
- Enabling Evergreen Ads at the end of the period
Let’s start by navigating to the Rules section of the account in Tools and Settings:
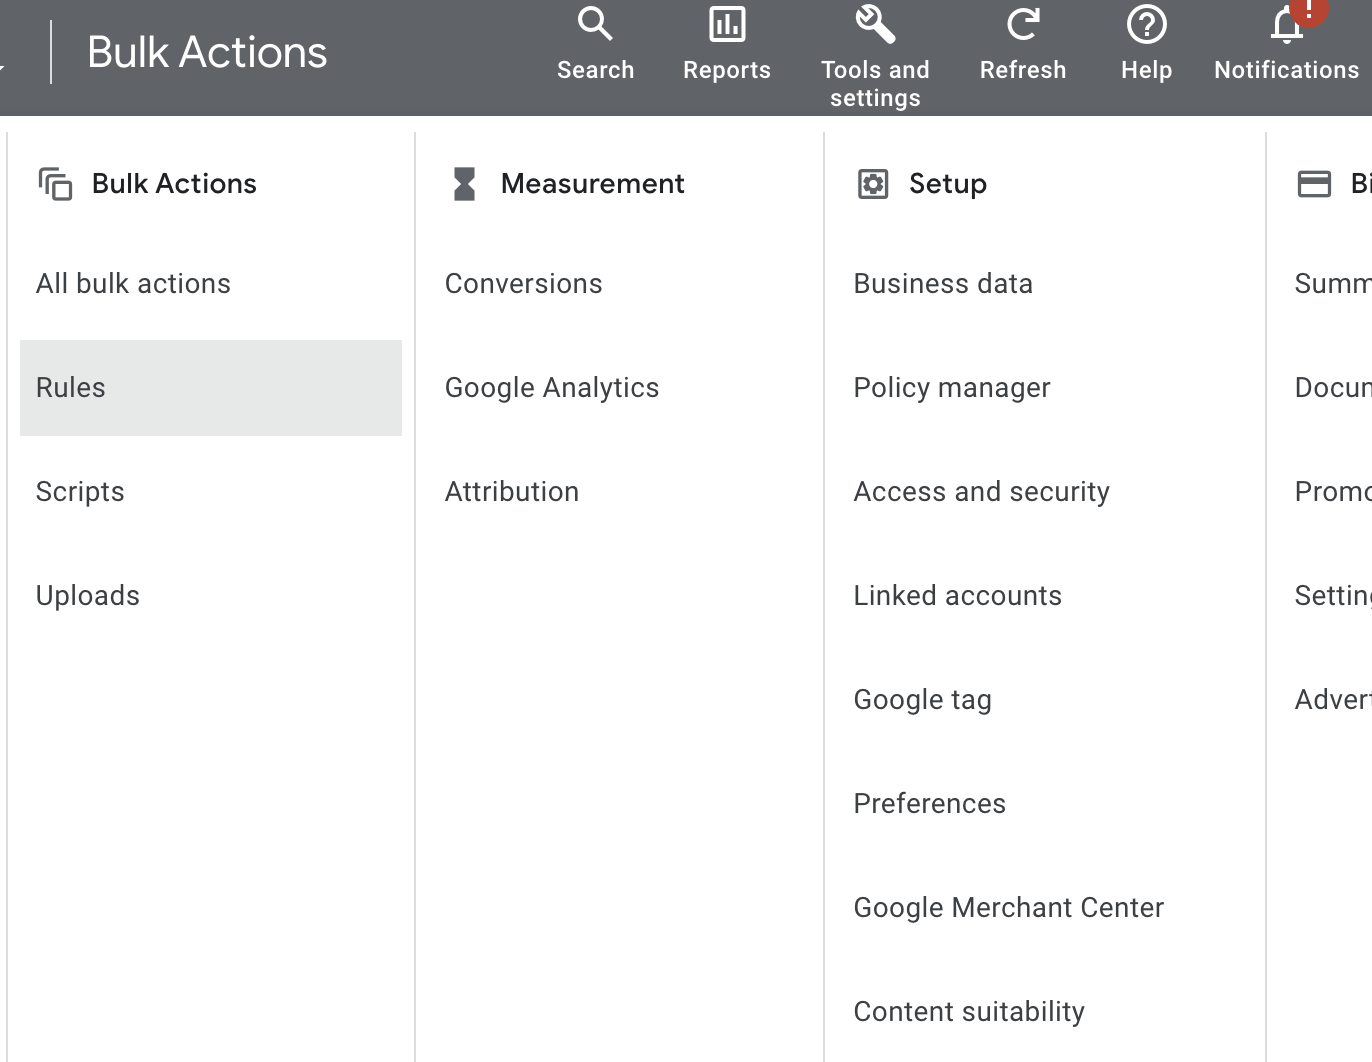
Then, let’s create these rules:
We’ll create two rules:
- Beginning of BFCM 2023 Sale
- End of BFCM 2023 Sale
Each of these Rules will have two triggers, according to those above, so the first rule would have two triggers (for pausing the Evergreen labeled ads, and one for enabling the BFCM labeled ads) look like this:
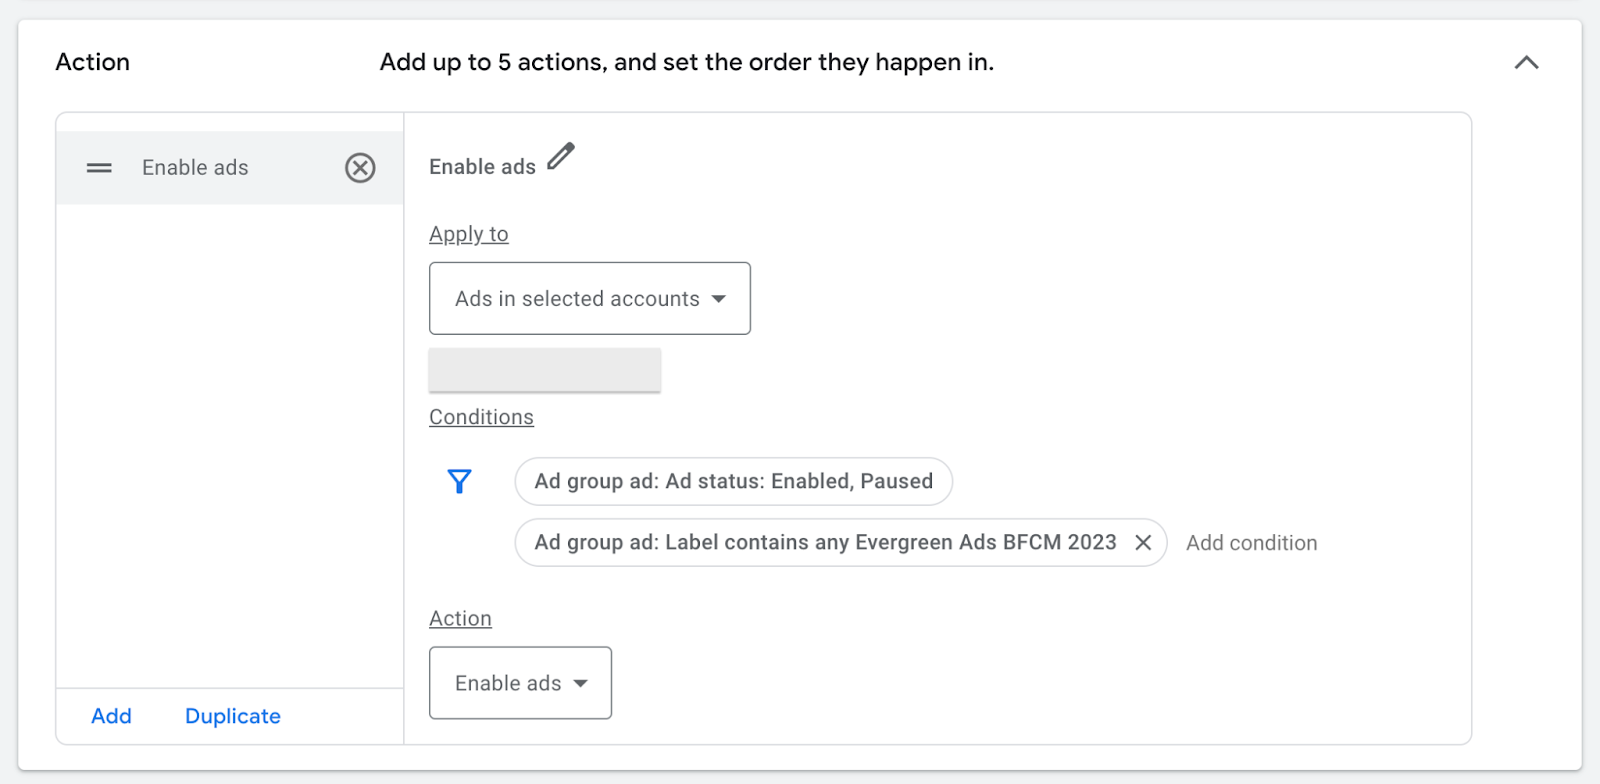
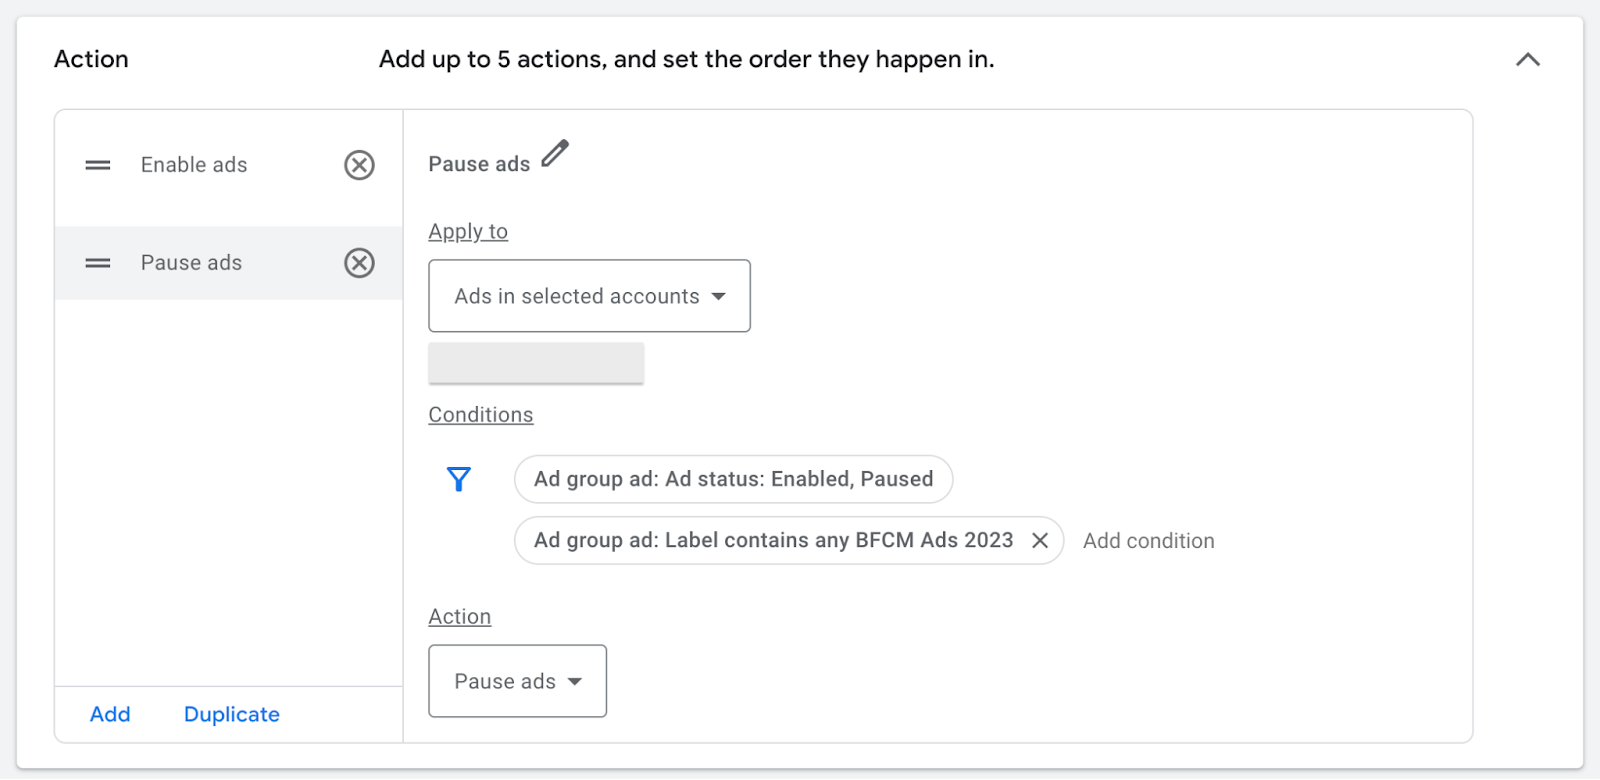
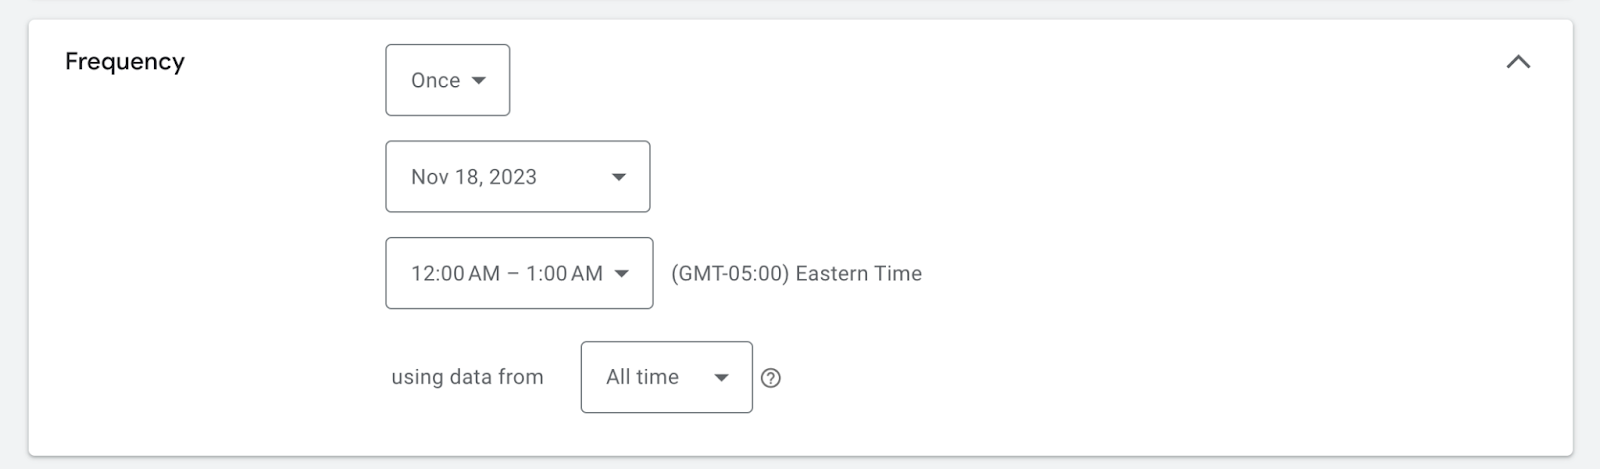
Ensure you have the date set correctly so this rule fires one time on those two triggers:
Then, of course, you would create the opposite triggers for the END of your sale, that is:
- Pausing Promotional Ads at the end of the period
- Enabling Evergreen Ads at the end of the period
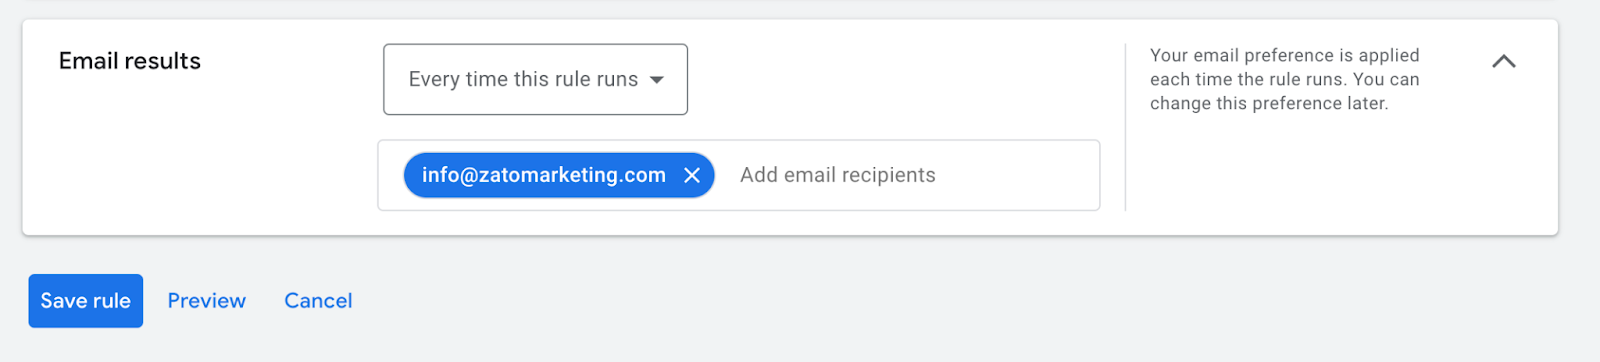
When we’re dealing with only two rules like this, I *always* want to know when this runs so I can doublecheck if I need to, so I always set the notifications to show me every time it runs for limited sales like this:
Step 5: save your rules and sit back, smiling.
You’ve created countdown ads that will encourage urgency in your client’s potential customers, and you don’t have to raise a finger to switch those around once the sale begins and ends.
Automation FTW!
Final note: what about Performance Max assets?
As of yet, unfortunately, you are unable to utilize Countdown Customizers in Performance Max assets. Hopefully that functionality is added soon!


.jpeg)